How to Convert HEIC to JPG on Mac (5 Free Ways, No Apps)
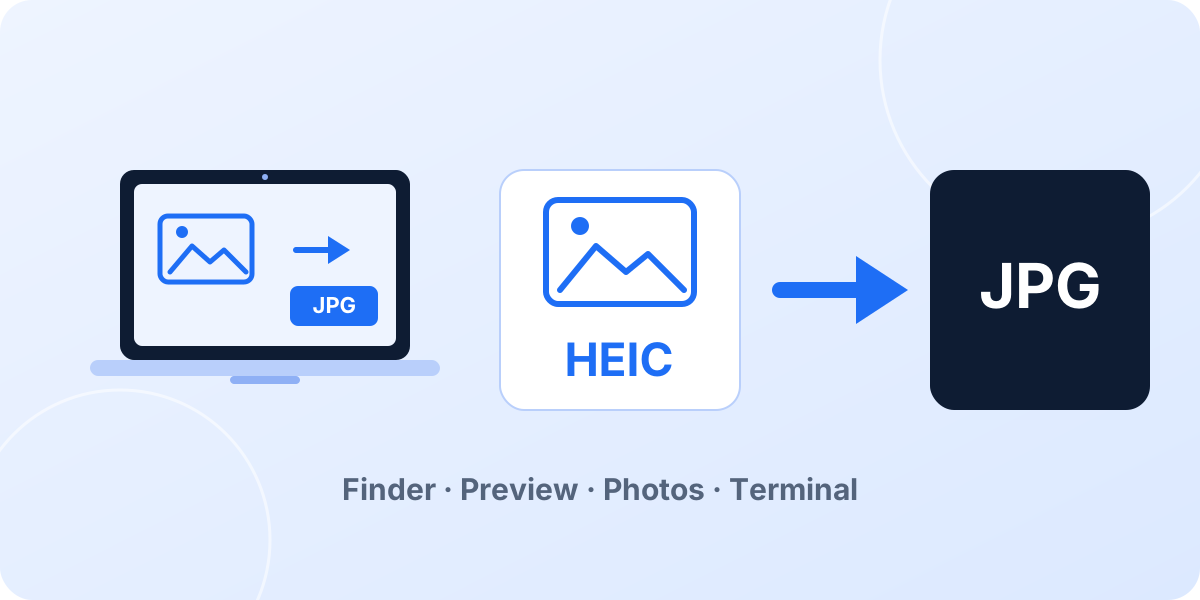
A Mac opens HEIC photos without complaint, which is exactly why the problem sneaks up on you later: the file looks fine in Finder, then a website upload fails, a Windows colleague cannot open it, or a print shop asks for JPG. When that happens you want to know how to convert HEIC to JPG on Mac quickly, and ideally without installing yet another app.
Good news: macOS already has four different converters built in, and one of them turns a whole folder into JPGs with two clicks. Below are five free methods, from the fastest for a handful of files to the right one for a few thousand, plus the online route for the day you are not sitting at your own Mac.
Select the HEIC files in Finder, right click, choose Quick Actions, then Convert Image, set the format to JPEG and click Convert. Works on one file or a hundred and needs macOS Monterey or newer. On an older Mac use Preview (File, Export, JPEG). Not at your own Mac? Drop the files into the free HEIC to JPG converter at heicjpg.online and download the JPGs.
Why your Mac opens HEIC but the rest of the world does not
HEIC is the container Apple picked for iPhone photos in 2017. Inside, the picture is compressed with HEVC, the same codec used for 4K video, which is why a HEIC photo takes roughly half the space of the same shot as a JPG. Every Mac since macOS High Sierra can decode it natively, so Preview, Quick Look, Photos and Safari all show HEIC files as if they were ordinary images.
The trouble starts the moment a file leaves the Apple ecosystem. Many web forms, older Windows PCs, printing services, CMS uploaders and email gateways still expect JPG. Converting is therefore not about fixing a broken file; it is about handing out a copy in the format everyone accepts.
macOS can both read and write HEIC. That is different from Windows, which can only read it. It also means every converter on this page runs entirely on your Mac, with the photo never leaving the machine, except of course the online option in method 5.
Here is what each of the five routes can and cannot do before you pick one:
Method 1: Finder Quick Action, the fastest way for any number of files
Since macOS Monterey, Finder has a conversion tool hidden in the right click menu. It handles one file or a whole selection, writes the JPG copies next to the originals and never opens an app window.
- In Finder, select the HEIC photos. Click and drag around them, or hold Command and click each one.
- Right click the selection (or Control click), point to Quick Actions and click Convert Image.
- Set Format to JPEG. Leave Image Size on Actual Size unless you want smaller files for email. Keep Preserve Metadata ticked if the date and location should stay in the photo, untick it if they should not.
- Click Convert. Each JPG appears in the same folder with the same name, and your HEIC originals stay untouched.
If you do not see Convert Image in the menu, open System Settings, General, Login Items & Extensions, then Finder (on older systems: System Preferences, Extensions, Finder) and make sure Convert Image is enabled. If it is missing entirely, your Mac is running something older than Monterey, and method 2 is your best bet.
Good for: almost everything, from one photo to a few hundred. Not good for: when you need a specific quality setting, because the Quick Action has no slider.
Method 2: Preview, when you want control over quality
Preview is on every Mac, no matter how old, and it is the only built in tool that lets you set the JPEG quality yourself. For one photo it takes four clicks; for a batch it takes five.
- Double click the HEIC file so it opens in Preview. For a batch, select all the files first and press Command + O so they open in one window.
- For a single file choose File, Export. For a batch, click the thumbnail sidebar, press Command + A to select all, then choose File, Export Selected Images.
- Set Format to JPEG and move the Quality slider. Around 80 to 90 percent gives files that look identical to the original at half the size. If JPEG is missing from the list, hold the Option key while clicking the Format menu.
- Pick a folder and click Save (or Choose for a batch). Preview writes the JPGs and leaves the HEIC files as they were.
Good for: any macOS version and anyone who wants to choose the quality or resize at the same time. Not good for: very large batches, because Preview loads every image into memory first.
Method 3: The Photos app, for pictures already in your library
If the photos live in the Photos app rather than in a folder, you never have to hunt for the HEIC files at all. Photos converts on the way out.
- Select the photos in Photos. Use Command + A inside an album to grab all of them.
- Choose File, Export, Export Photos. Do not pick Export Unmodified Original, which would give you the HEIC files back.
- Set Photo Kind to JPEG and the quality to Maximum or High. You can also choose the size, the file naming and whether location data stays in the file.
- Click Export, pick a folder and wait for the progress bar.
There is an even shorter version: drag a photo from the Photos window straight to the desktop or a Finder folder. Photos hands Finder a JPEG copy at full size, edits included. It only works for a manageable number of photos at a time, but for a few holiday shots it is the quickest route on this page.
Sending photos to someone on a PC? How to Convert HEIC to JPG on Windows covers the same job from their side, including the free Microsoft tools that open HEIC on Windows 10 and 11.
Method 4: Terminal and sips, for hundreds or thousands of files
Every Mac ships with sips, a command line image tool that converts without opening a single window. It is the method to reach for when you have an archive of a thousand iPhone photos to turn into JPGs overnight.
- Open Terminal (press Command + Space, type Terminal, press Return).
- Type
cdfollowed by a space, drag the folder with your HEIC files into the Terminal window and press Return. Terminal is now working inside that folder. - Paste this line and press Return. It converts every HEIC file in the folder and writes a JPG with the same name next to it:
for f in *.heic *.HEIC; do [ -e "$f" ] && sips -s format jpeg -s formatOptions 90 "$f" --out "${f%.*}.jpg"; doneThe number after formatOptions is the JPEG quality from 1 to 100. Ninety keeps the photo visually identical; drop to 75 if you are after smaller files. Because the loop only reads .heic files and only writes .jpg files, your originals are safe. Add --resampleWidth 2000 before the file name if you also want to shrink the images to 2000 pixels wide.
Good for: large archives, repeat jobs and anything you want to automate. Not good for: people who would rather not open Terminal, which is a perfectly reasonable position; method 1 does the same thing with clicks.
Method 5: An online converter, when the Mac is not yours
Sometimes none of the above is available: you are on a locked down office Mac, on an iPad, on a friend's laptop, or on a Mac so old it predates the Quick Action and you do not feel like fiddling with Preview. An online converter does the decoding on the server, so nothing needs to be installed and it works the same in Safari, Chrome and Firefox.
On heicjpg.online there is no convert button to look for: drop the photos in and each one starts converting the moment its upload finishes. The JPGs come back at full resolution with the EXIF data intact, several photos are bundled into one ZIP, and there are no accounts, watermarks or ads. Uploaded files are deleted automatically after 30 days.
Good for: any device with a browser, quick one off jobs and shared computers. Not good for: thousands of files, where sips or the Finder action are the better fit, and for photos you would rather not upload anywhere at all.
Fix it at the source: two iPhone settings
If the HEIC files keep arriving from the same iPhone, thirty seconds on the phone will save you from converting ever again. Two settings do it:
- Convert only when copying to the Mac: on the iPhone open Settings, Photos, scroll to Transfer to Mac or PC and choose Automatic. Photos copied over a cable through Image Capture or Photos arrive as JPG, while the phone keeps its space saving HEIC originals.
- Shoot JPG from now on: open Settings, Camera, Formats and pick Most Compatible. New photos are saved as JPG. Existing photos stay HEIC, and JPG needs about twice the storage.
AirDrop is the exception worth knowing: it sends the file exactly as it is stored, so a HEIC on the phone lands as a HEIC on the Mac even with Automatic switched on. Messages, Mail and most chat apps, on the other hand, convert to JPG on their own.
Still not sure which route to take? Match your situation to one of these four cards:
Which method should you use?
| Method | Needs | Batch | Best for |
|---|---|---|---|
| Finder Quick Action | macOS Monterey or newer | Yes, any number | Everyday conversions straight from a folder |
| Preview | Any macOS | Yes, Export Selected Images | Choosing the JPEG quality or resizing on the way |
| Photos app | Photos in your library | Yes | Pictures synced from your iPhone through iCloud |
| Terminal (sips) | Any macOS | Yes, thousands | Large archives and automated jobs |
| heicjpg.online | A browser | Up to 20 per batch | Shared or locked down Macs, iPads, quick jobs |
Three mistakes to avoid
Renaming the file does nothing. Changing IMG_4821.heic to IMG_4821.jpg only changes the label. The pixels inside are still HEVC, so the file opens as a broken image on Windows or gets rejected by the website you are uploading to. A real conversion decodes the photo and writes a new JPG.
Exporting with Export Unmodified Original. In Photos that option sounds safe but it hands you the HEIC file back, unchanged. Use Export Photos and set Photo Kind to JPEG instead.
Paying for a converter app. The Mac App Store is full of HEIC converters that charge for something Finder already does with two clicks. Before buying anything, try the Quick Action from method 1.
Keep the HEIC originals. They take about half the space of the JPGs you just created and you can always convert again. Treat HEIC as your archive and JPG as the copy you send out into the world.
Frequently asked questions
Does macOS have a built in HEIC to JPG converter?
Yes, several. On macOS Monterey or later, right click any HEIC file in Finder, open Quick Actions and choose Convert Image. Preview, the Photos app and the sips command in Terminal can do the same job. You do not need to install anything.
How do I convert many HEIC files to JPG at once on a Mac?
Select all the photos in Finder, right click, choose Quick Actions and then Convert Image. Every file becomes a JPG in one go. For thousands of photos, the sips command in Terminal is faster and needs no clicking at all.
Does converting HEIC to JPG on Mac reduce quality?
The photo goes through one round of JPEG compression. At the default quality that difference is invisible in a normal photo, and the resolution stays the same. Keep the HEIC original if you want an untouched archive copy.
Why do my iPhone photos arrive on the Mac as HEIC in the first place?
Since iOS 11 the iPhone camera saves in HEIC by default because it takes about half the space of a JPG. If you would rather skip the conversion step for good, open Settings, Camera, Formats on the iPhone and choose Most Compatible, which switches the camera to JPG.
Need a JPG in the next ten seconds?
Drop your HEIC photos in and the conversion starts by itself. Full resolution, no account, no ads.
Convert HEIC to JPG nowRelated articles
 How to Convert HEIC to JPG (the Easy Way, No Software)Drop a photo, watch it convert automatically, download your JPG. Plus every offline method for Mac, Windows, iPhone and the command line.
 HEIC to JPG on iPhone: 6 Ways to Convert Your Photos (No App Needed)Convert in Safari with no app, use the four tricks built into iOS, or flip the setting that makes the camera shoot JPG. Exact taps for each.
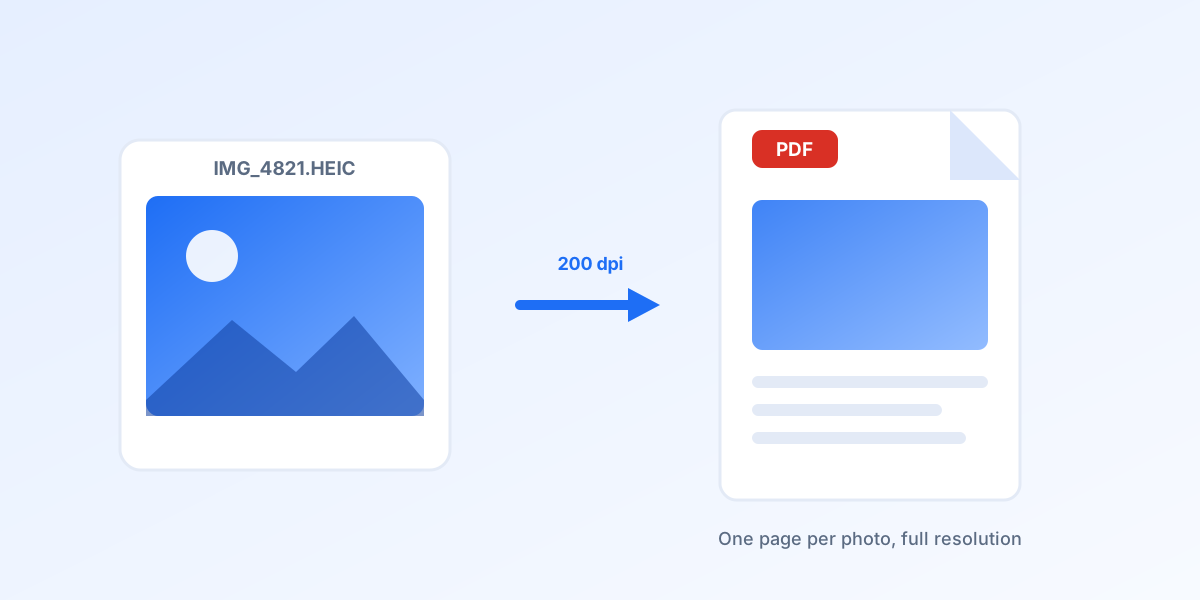 How to Convert HEIC to PDF on iPhone, Mac and WindowsFive free ways to get a PDF out of a HEIC photo: online in any browser, the iPhone Print trick, Finder on a Mac, Microsoft Print to PDF and one ImageMagick command.
 Best HEIC to JPG Converter in 2026: 12 Tools Tested and RankedOnline, desktop and built in converters compared on quality, speed, limits, privacy and price. One clear winner, and the smarter pick for every other job.
 How to Convert Multiple HEIC to JPG at Once (Free, 20 Files per Batch)Drop up to 20 iPhone photos, let the conversion start by itself and download one ZIP. Plus the Mac, Windows and command line options for really big folders.